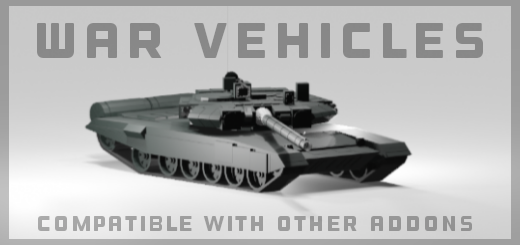
About WarVehicles Add-on
Created By ArsenalCraft
This add-on adds five Tanks, four Fighting Vehicles/APCS, five Armored Trucks/Troop Carriers, two Helicopters, one Fighter Jet, two Mounted Guns, and a Submarine! You can get all vehicles by doing the command "/function allvehicles"
Ammunition
Alot of guns in this add-on use a different ammo type, you can get the ammo using "/function allammo"
Loading guns
To load any of the weapons, hold the correct ammunition for it, then hover over the vehicles hitbox, and an interact text should appear. Press on it, and the vehicle should be ready to fire!
All guns & Vehicles
M2 Browning Uses .50 Bmg ammo
BGM-71 TOW
Uses BGM-71a
M113
Armored personnel carrier formally used by the United States Military
Humvee Armored multipurpose vehicle, used by the United States Military.
M-ATV
Mine resistant armored vehicle, used by the United States Military
Cougar MRAP Mine resistant armored vehicle, used by the United States Military
URAL 4320
Off Road 6×6 vehicle, used by the Russian Military.
BTR-82A
Amphibious Armored 8×8 personnel carrier, used by the Russian Military.
Fv510 Warrior Tracked fighting vehicle, used by the British Military. 30mm gun works Uses 30mm APDS shells
T62
Soviet Armored Tank Uses 115mm APFSDS-T shell
Challenger 2 Main Battle Tank, used by the British Military Uses 120mm APFSDS shell
M1a2 Sepv3 Main Battle Tank, used by the United States Military Uses 120mm APFSDS shell
Leopard 2a7 Main Battle Tank, used by the German Military Uses 120mm APFSDS shell
T90
Main Battle Tank, used by the Russian Military Uses 125mm Svinets-2 shell
MH-6 Little Bird UH-60 Blackhawk Sukhoi Su-30
USS Seawolf Nuclear powered submarine used by the United States Navy
Other Information
/Function help /Function allammo /Function allvehicles
WarVehicles Add-on screenshots


How to install WarVehicles Add-on
- Download the .mcaddon file using the button on this page.
- Open the downloaded file with Minecraft Bedrock Edition.
- Wait for Minecraft to confirm that the import has completed.
- Activate the imported pack in the world settings.
- Back up important worlds before installing community content.
Download WarVehicles Add-on (1.17, 1.18, 1.19) Weapon for free